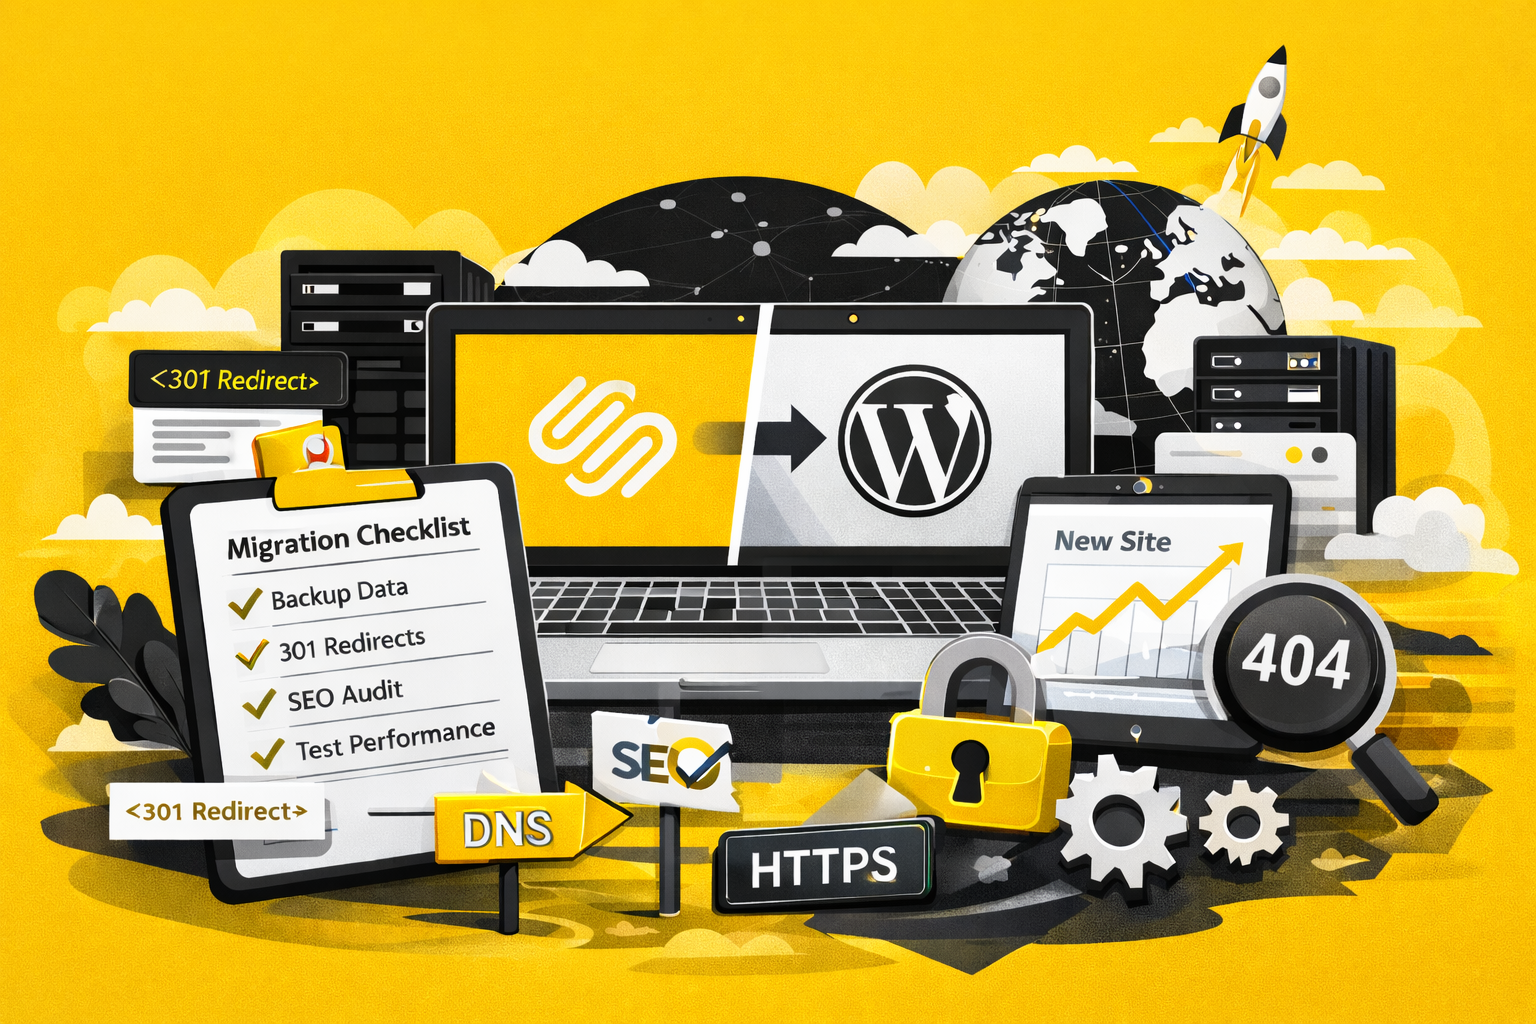
Migrating a website from one platform or hosting provider to another (for example, Squarespace to WordPress, or shared hosting to managed hosting) is a high-risk, high-impact process. When done correctly, a website transfer can improve performance, SEO, and scalability. When done poorly, it can result in broken pages, lost rankings, and disrupted tracking.
1. Website Migration Planning: Pre-Transfer SEO & Technical Preparation
Before any technical work begins, it’s critical to thoroughly plan the migration.
Website migrations are often underestimated. I’ve personally seen businesses lose a significant portion of their organic traffic after launching a new website — not because the new site was worse, but because the migration was not handled correctly. In one real-world case, improper redirects and missing technical safeguards resulted in a 30% traffic drop, translating into substantial lost revenue. I break down that experience and its financial impact in detail in this article:
How a Poor Website Migration Can Cost You Millions in Lost Revenue
Access & Accounts Required Before a Website Migration
Ensure you have access to:
- Domain registrar
- Current hosting provider
- New hosting provider
- DNS settings
- Google Search Console
- Google Analytics / Google Tag Manager
- Email hosting provider (to avoid email outages)
Website Audit: Pages, Content, and SEO Assets to Preserve
Audit the existing website to understand what needs to be preserved:
- Export a full list of URLs
- Identify top-traffic and high-value pages
- Review blog posts, landing pages, and media files
- Document existing forms and integrations (CRM, email tools, booking systems)
- Capture current meta titles and descriptions
- Take screenshots of important pages for design reference
SEO Redirect Planning: Mapping Old URLs to New URLs
- Create a redirect map (old URLs → new URLs)
- Keep URL structure unchanged where possible
- Decide on trailing slash vs non-slash format
- Review current index coverage in Google Search Console
Content Freeze: Preventing Data Loss During Migration
- Agree on a content freeze date
- Avoid editing the old site once the build begins to prevent inconsistencies
2. Website Build Phase: SEO, Performance, and Tracking Setup Before Launch
The new website should be fully completed and tested before any DNS changes.
Website Setup Checklist Before Migration Launch
- All pages built and reviewed
- Mobile responsiveness tested
- Forms tested (submission, notifications, confirmations)
- Accessibility basics applied (labels, contrast, navigation)
Technical SEO Setup for a New Website
- Meta titles and descriptions implemented
- One clear H1 per page
- Alt text added to images
- Canonical tags set correctly
- Robots.txt reviewed
- XML sitemap generated
Analytics & Tracking Setup (GA4, GTM, Conversions)
- Google Analytics installed and tested
- Google Tag Manager implemented
- Conversion events verified
- Cookie consent tool tested (if applicable)
Website Performance, Security, and SSL Configuration
- SSL enabled
- Caching configured
- Image optimization applied
- Hosting environment verified
3. Website Migration Launch Day Checklist (DNS & Go-Live)
Launch day is about precision and monitoring.
Pre-Launch Website Migration Checklist
- Final content review
- Test the site on a temporary or staging URL
- Confirm redirect rules are ready
- Ensure email hosting will not be affected
DNS Switch: Pointing Your Domain to the New Website
- Update DNS records to point to the new host
- Lower TTL ahead of time if possible
- Monitor DNS propagation (can take up to 48 hours)
Immediate Post-Launch Website Checks
- Test site on desktop and mobile
- Confirm HTTPS works site-wide
- Check for mixed content warnings
- Verify homepage and key pages load correctly
4. Post-Launch SEO Validation After a Website Migration
Post-Migration SEO Checks (Redirects, Indexing, Errors)
- Test redirects from old URLs
- Identify and fix 404 errors
- Submit new sitemap in Google Search Console
- Monitor indexing and coverage reports
- Spot-check top-traffic pages
Analytics & Conversion Tracking Verification
- Confirm real-time traffic in Google Analytics
- Verify conversion events
- Review Tag Manager preview mode
Forms, CRM, and Third-Party Integrations Testing
- Submit all forms
- Confirm email and CRM delivery
- Test third-party integrations
Website Performance Monitoring After Migration
- Review Core Web Vitals
- Check error logs
- Enable uptime monitoring
5. Website Migration Follow-Up: SEO Monitoring (Weeks 1–4)
Website migrations don’t end on launch day.
- Monitor traffic and rankings
- Fix new or missed redirects
- Resolve unexpected 404 errors
- Review SEO performance
- Confirm backup schedules
- Establish an ongoing maintenance plan
Final Thoughts
A website migration is not just a design or hosting change — it’s a technical, SEO, and operational process. Following a structured checklist minimizes risk, protects search visibility, and ensures continuity for users and search engines alike.
If you’re planning a website transfer and want professional oversight, proper redirect strategy, and post-launch monitoring, working with an experienced developer can save time, revenue, and long-term SEO value.
Planning a Website Migration?
Get the free website migration checklist
Used for real-world website migrations to prevent traffic and revenue loss.